How to Share Google Sheets Template Publicly
Sharing your Google Sheet is easy, but making sure people can use it as a template without messing up your original file is a different story. The last thing you want is for someone to accidentally start filling in your pristine master template. Luckily, there's a simple URL trick that lets you share a version of your Google Sheet that prompts users to make their own copy instantly.
This tutorial will walk you through exactly how to create a public "force copy" or "template preview" link for any of your Google Sheets. It's a game-changer for sharing budget planners, project-tracking dashboards, reporting templates, or any other tool you've built.
Why Share a Template Link Instead of a Regular Link?
Before we get into the "how," let's quickly cover the "why." When you click the regular "Share" button in Google Sheets and give someone "Viewer" or "Commenter" access, they can see the file but can't edit it. To use your template, they'd have to know to go to File > Make a copy. While this works, it’s not very user-friendly and relies on the other person knowing what to do.
A dedicated template link automates this process, offering a much smoother experience. Here are the main benefits:
- It protects your original file. No one can accidentally request edit access or start typing in your master copy. Everyone is forced to create their own private version in their own Google Drive.
- It’s foolproof for the user. There's no confusion. They click one link and are immediately prompted to create their own editable copy. No extra steps or instructions needed.
- It looks more professional. If you’re sharing a template as a content upgrade on your blog or as part of a digital product, a "force copy" link just feels cleaner and more intentional than a standard view-only link.
How to Create a "Force Copy" Link in Google Sheets
This is the most common and direct method for sharing a template. When someone clicks this link, they’ll see a large blue button that says "Make a copy." One click, and they're done. Let's make one step-by-step.
Step 1: Get Your Shareable Link
First, open the Google Sheet you want to share as a template. Make sure it's clean, ready for public use, and doesn't contain any personal or sensitive data.
Click the big blue Share button in the top right corner of your screen.
Under the "General access" section, you need to change the permission settings. Click the dropdown that likely says "Restricted" and change it to "Anyone with the link."
Next to this, a new dropdown will appear showing the permission level. While "Viewer" is a standard choice for view-only links, it doesn't really matter for our template link, as the user will be making their own copy with full edit permissions. However, setting it to "Viewer" is a good habit. Once that’s set, click the Copy link button and then click Done.
<div style="padding:15px, border:1px solid #ddd, border-radius: 5px, background-color: #f9f9f9, margin-bottom: 20px,"> **Recap:**
- Click Share.
- Set "General access" to "Anyone with the link."
- Click Copy link.
Step 2: Modify the URL
Now comes the simple trick. Paste the link you just copied into a text editor, a new browser tab, or anywhere else you can see it. It will look something like this:
https://docs.google.com/spreadsheets/d/1aBcD_efgHiJKLMNOpqrS_UVWXYZabcdefghIJKL/edit?usp=sharing
The important part of this URL is the end piece: /edit?usp=sharing. This tells Google to open the sheet in edit mode (or view mode, depending on your settings).
To turn this into a "force copy" link, all you need to do is delete that entire end piece and replace it with the word copy.
So, the original URL endings:
.../edit?usp=sharing
becomes:
.../copy
Your new URL will look like this:
https://docs.google.com/spreadsheets/d/1aBcD_efgHiJKLMNOpqrS_UVWXYZabcdefghIJKL/copy
That's it! This is your magic link. Share this new URL, and anyone who clicks it will be immediately taken to a page that prompts them to make their own copy of your spreadsheet.
How to Create a "Template Preview" Link
The "force copy" method is great, but what if you want to let people see the template before they commit to saving it? That's where the "template preview" link comes in. It shows a full, interactive preview of the sheet with a prominent "Use Template" button in the corner. This approach feels very polished and is perfect for professional documents.
Step 1: Get the Standard Shareable Link
Just like before, open your spreadsheet and go to Share. Make sure "General access" is set to "Anyone with the link."
Copy the standard link, which will end in /edit?usp=sharing.
Step 2: Modify the URL for a Preview
Once again, we're going to edit the end of the URL. This time, instead of replacing /edit?usp=sharing with /copy, we're going to replace it with /template/preview.
So this:
.../edit?usp=sharing
becomes this:
.../template/preview
Your finished link will now look like this:
https://docs.google.com/spreadsheets/d/1aBcD_efgHiJKLMNOpqrS_UVWXYZabcdefghIJKL/template/preview
When someone opens this link, they’ll see a clean, professional-looking version of your spreadsheet. They can click through different tabs and see how everything works. Once they're ready, they can click the blue "Use Template" button in the top right, which will then create their own copy in their Google Drive.
Comparing the Methods: copy vs template/preview
So, which method should you use? Neither is better than the other - it just depends on the user experience you want to create.
Use the /copy method when:
- Speed is the priority. It gets the user their own template in a single click. No messing around.
- The user already knows what they're getting. This is great for sharing a file with colleagues who are already familiar with it, or when you've already explained what the template is and does.
- You prefer a simple, direct approach. It's a no-frills way to distribute a tool.
Use the /template/preview method when:
- A professional first impression matters. The preview layout with the official "Use Template" button looks cleaner and more trustworthy.
- You want to let users explore before copying. This is ideal for more complex templates. Users can see how the formulas work and browse through the different tabs before deciding to add it to their own Drive.
- You're sharing the template with a broad public audience. Giving them a sneak peek is a great way to build confidence, especially for a content upgrade or lead magnet.
Bonus Tips for Sharing Google Sheets Templates
Creating the link is the biggest step, but if you want to create a truly great template experience, here are a few extra tips.
1. Prepare Your Document for Sharing
Before you generate your link, create a special "template" version of your sheet. Delete any sample data, proprietary information, or personal notes. You want the user to start with a completely clean slate.
2. Lock Important Cells and Formulas
If your template contains complex formulas or headers that shouldn't be touched, protect them! Highlight the cells or range you want to lock, then go to Data > Protected sheets and ranges. You can set it so that a warning appears if someone tries to edit them in their copy. This little bit of foresight can prevent a lot of user frustration later on.
3. Include an "Instructions" or "Start Here" Tab
One of the best practices for sharing templates is dedicating the very first worksheet to instructions. Explain how the template works, what each tab is for, and how to get started. You can use colors, bold text, and even embed GIFs to make your guide easy to follow.
4. Share as a Direct Download Link (PDF or Excel)
What if you just want to provide a downloadable file instead of a template? You can use a similar URL trick for that. Take your share link and replace /edit?usp=sharing with one of the following:
- For a PDF download:
/export?format=pdf - For an Excel (.xlsx) download:
/export?format=xlsx - For a CSV download:
/export?format=csv
When a user clicks a link with one of these endings, it will immediately start a download of your sheet in that specified file format. This is perfect for reports or data summaries that don't need to be interactive.
Final Thoughts
Transforming a standard Google Sheets sharing link into a professional template link is as simple as changing one word in the URL. Whether you choose the direct /copy method or the polished /template/preview approach, you now have a powerful way to distribute your custom-built tools, calculators, and trackers to anyone, anywhere.
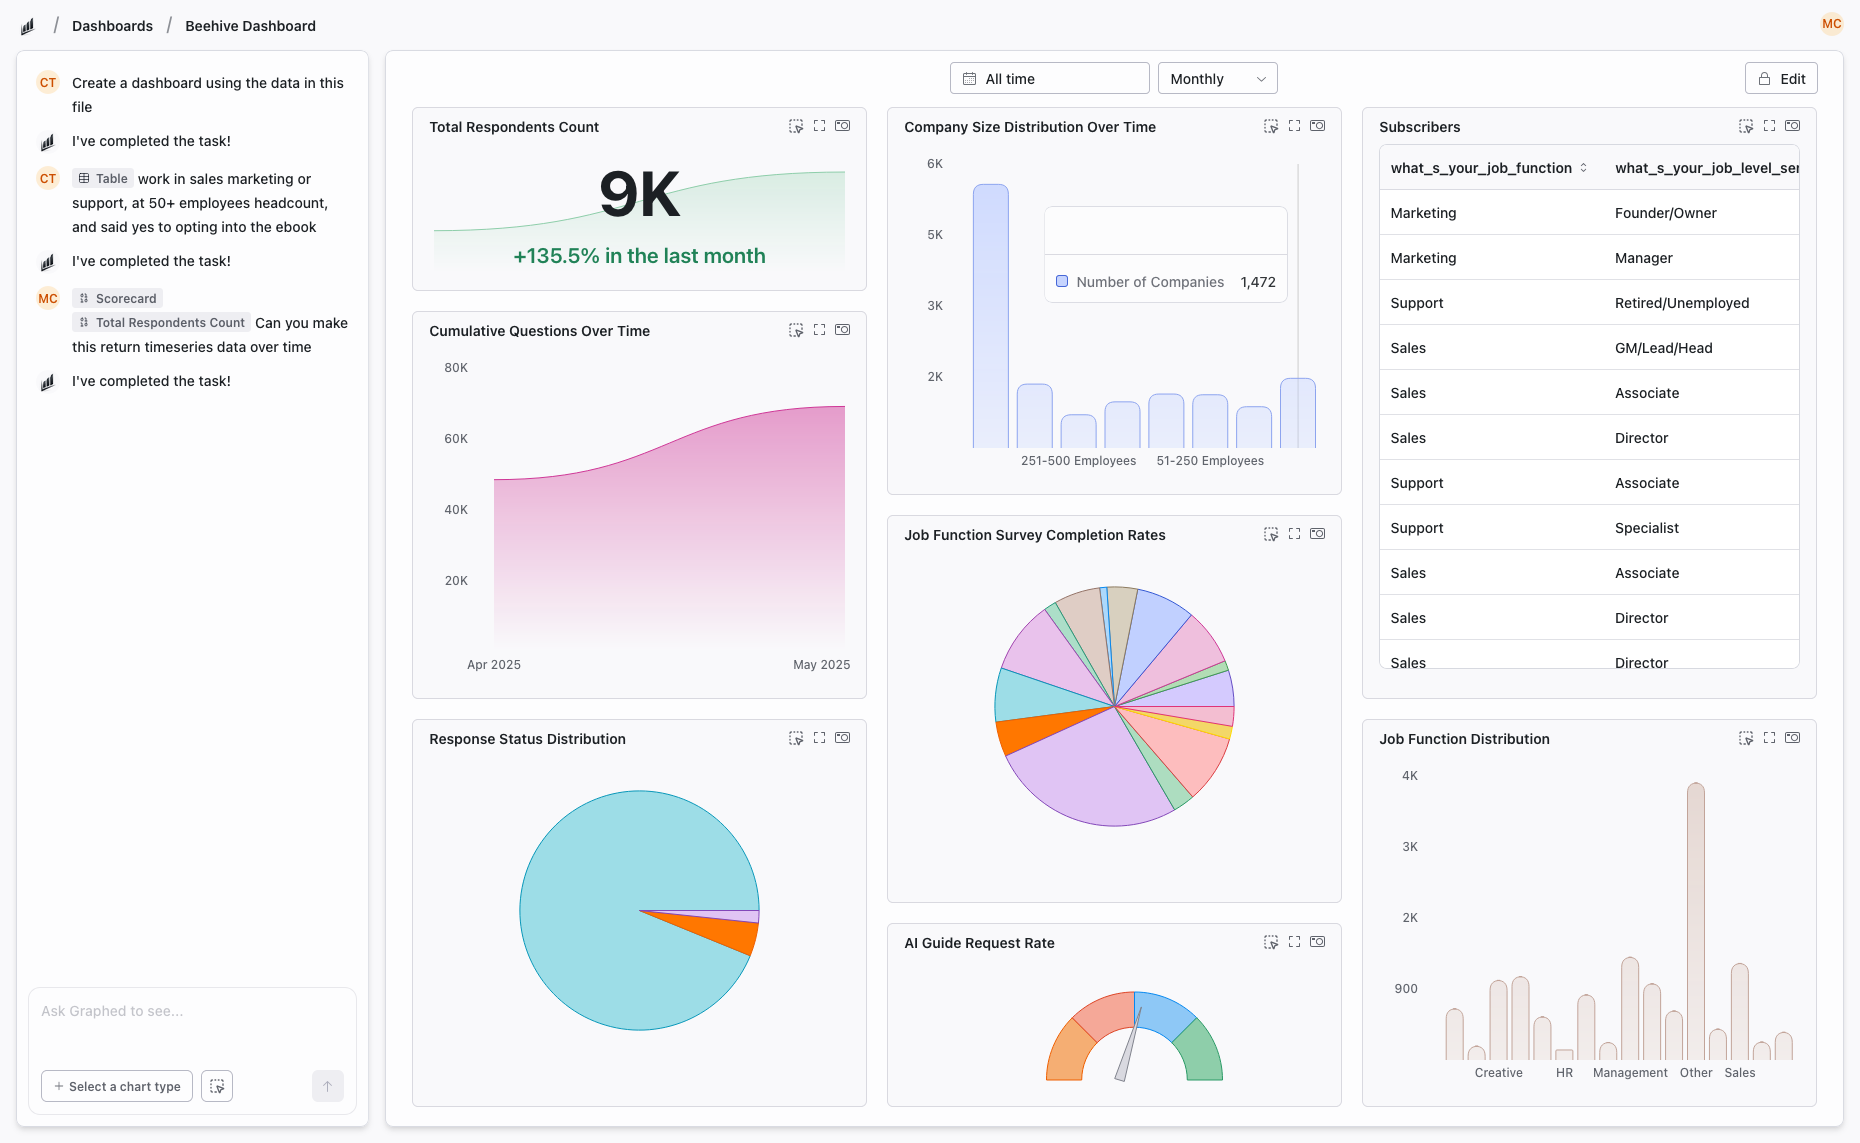
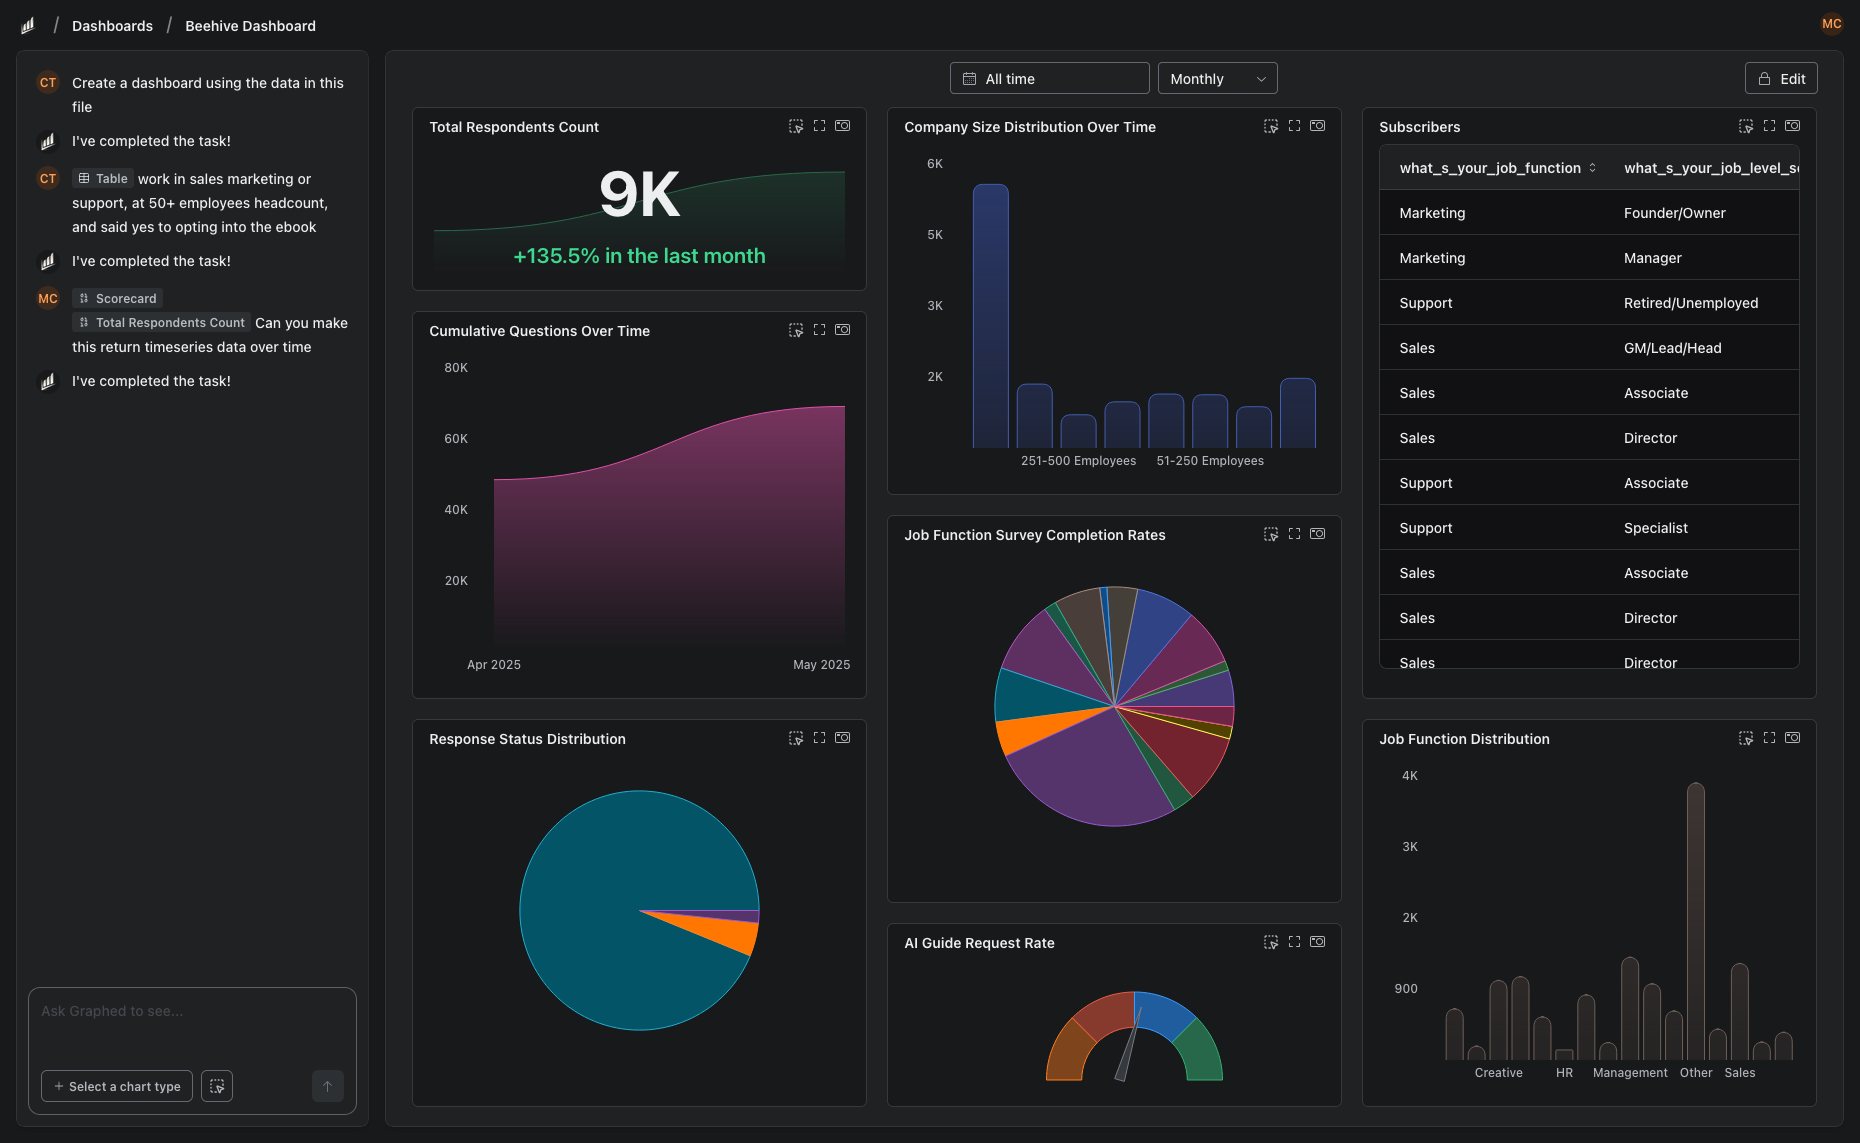
Building helpful resources in Google Sheets is fantastic, but manually pulling data from different marketing or sales platforms to populate those reports can be a huge time sink. We built Graphed because we believe getting insights shouldn't require hours of wrangling CSV files. Graphed connects to your data sources like Google Analytics, Shopify, and social ad platforms, letting you create real-time, shareable dashboards just by asking questions in plain English. Instead of spending your Monday pulling weekly reports, you can build a live dashboard in seconds and focus on analysis, not just data collection.
Related Articles
Add-Ons for Google Analytics
Discover the best add-ons for Google Analytics to automate reporting and enhance data visualization. Simplify your analytics workflow effortlessly.
Looker Studio vs Metabase: Which BI Tool Actually Fits Your Team?
Looker Studio and Metabase both help you turn raw data into dashboards, but they take completely different approaches. This guide breaks down where each tool fits, what they are good at, and which one matches your actual workflow.
Looker Studio vs Grafana: Which Data Visualization Tool Is Right for You?
Looker Studio and Grafana are both free data visualization tools, but they solve very different problems. This guide breaks down how they differ, where each shines, and how to decide which fits your needs.